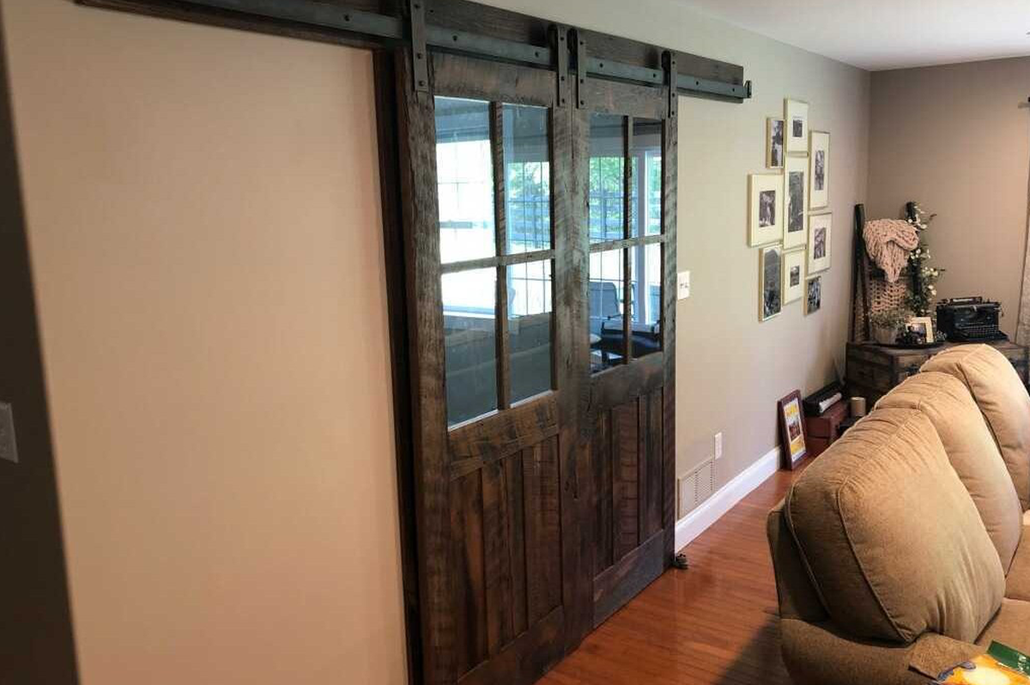
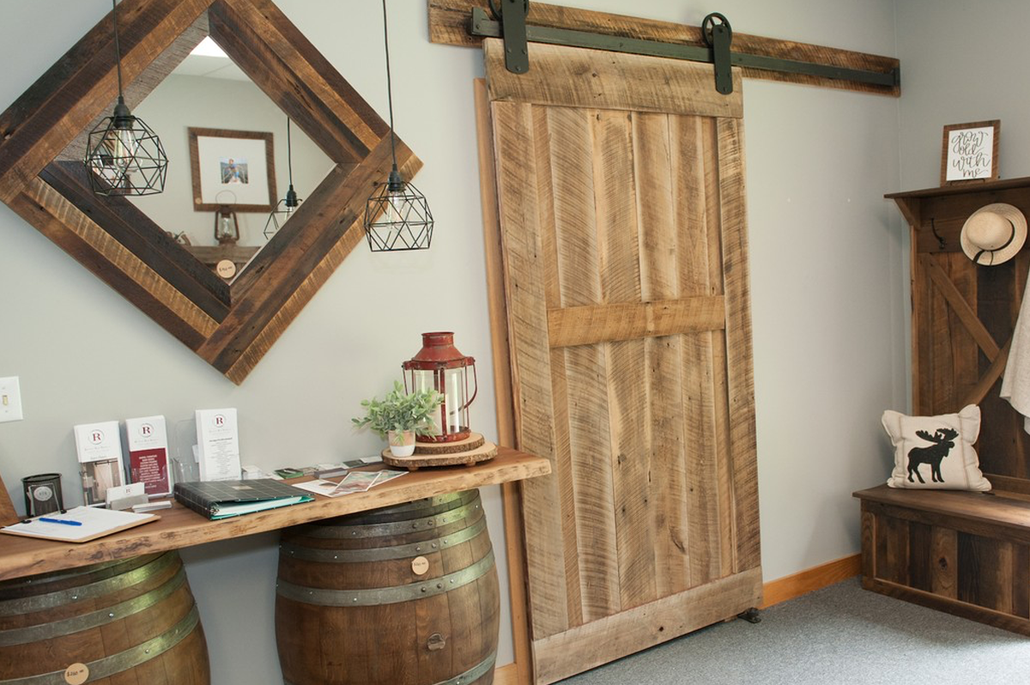
Barn Door Installation Instructions
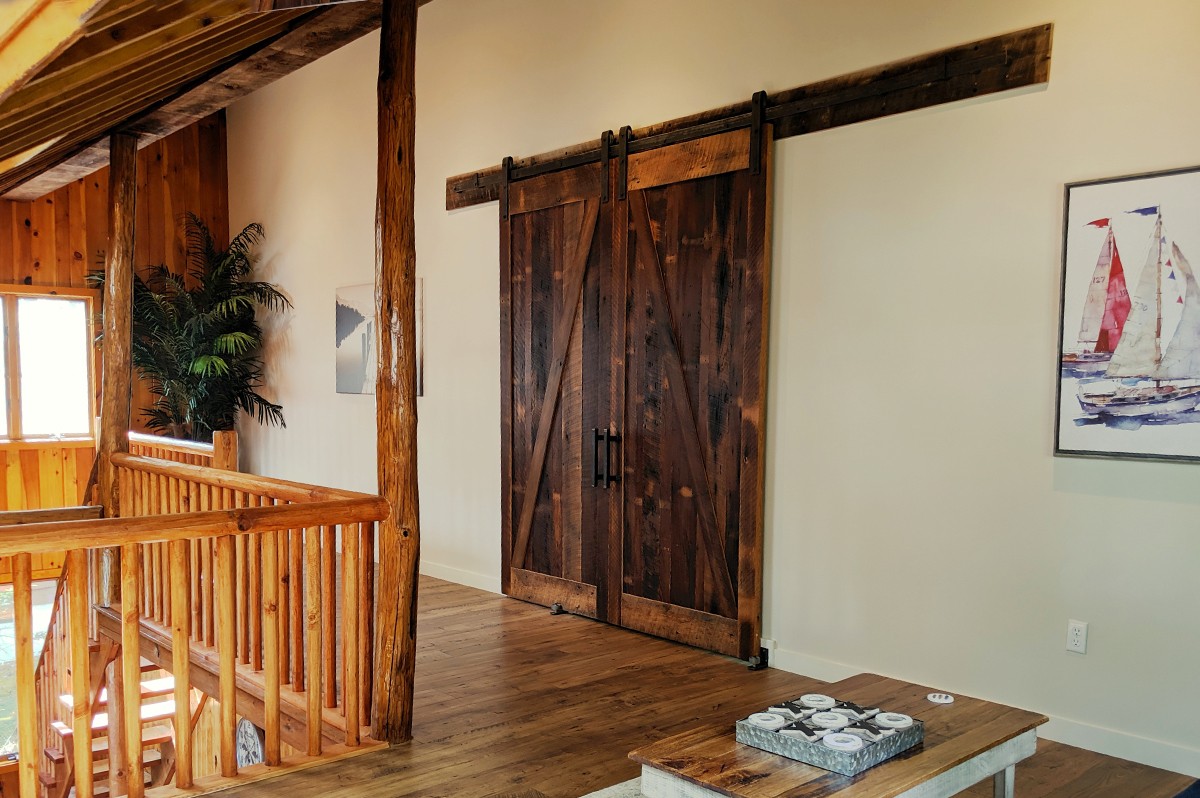
You've finally got your new sliding barn door and barn door track kit. So what are the next steps? We've got you covered. Make sure you have all the required tools before getting started!
REQUIRED TOOLS / ITEMS:
-
Power Drill with assorted bit sizes for wood and metal
-
Socket attachments
-
Tape Measure
-
Level
-
Pencil/Marker
-
Provided Hardware
-
Anchors (if necessary)
Step 1: Installing the Header Board
-
Locate the studs around your door frame.
-
Mark the desired height above your door frame for the header board. You want your door to be at least an inch off of the ground, so adjust the height of the header board accordingly.
-
Use a drill bit to drill your first hole on your mark.
-
Screw the header board to the wall on as many studs as possible. Use anchors to fasten it securely in places without studs if necessary.
Step 2: Installing the Rail
-
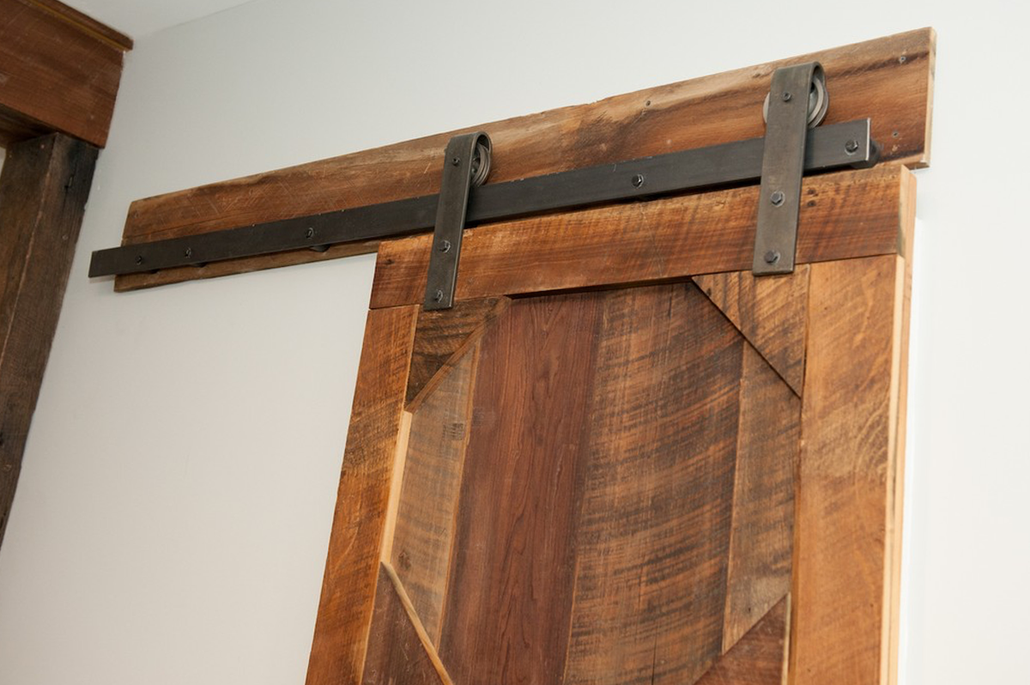
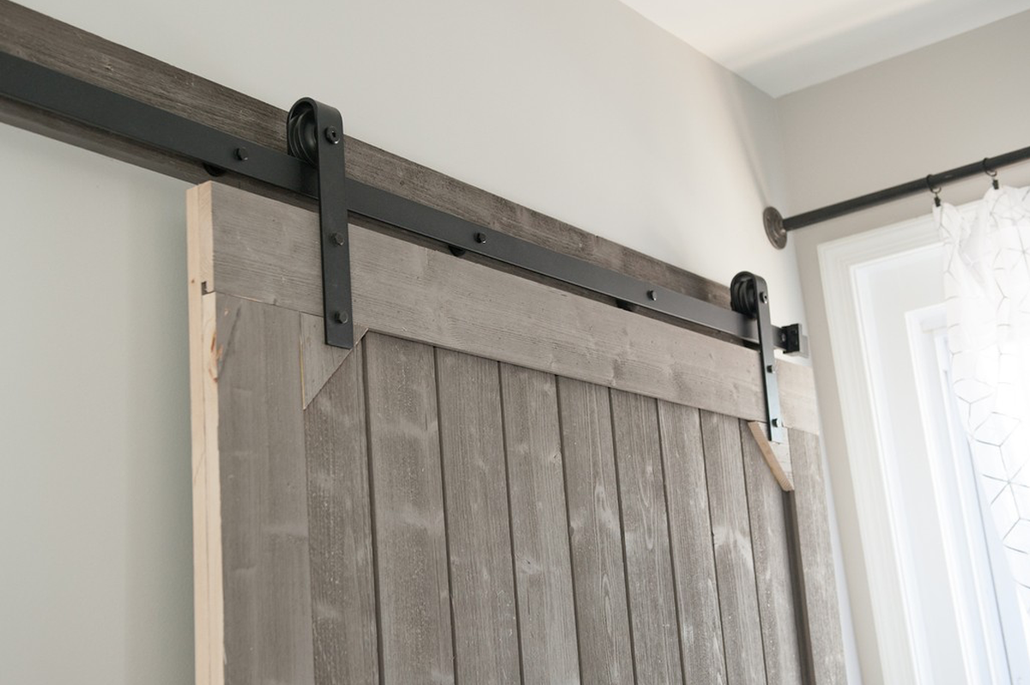
Locate and mark the locations where the rail will be mounted to the header board. Fasten the rail to the same studs that the header board was attached to. Make sure the marks are level. You want the rail mounted low enough so that the trolley attached to the door does not go higher than your header board.
-
Using an appropriately sized drill bit, drill out the marks to prepare for the spacers and bolts.
-
Make marks and drill holes on your rail at the same locations to be able to fasten the rail onto the spacers.
-
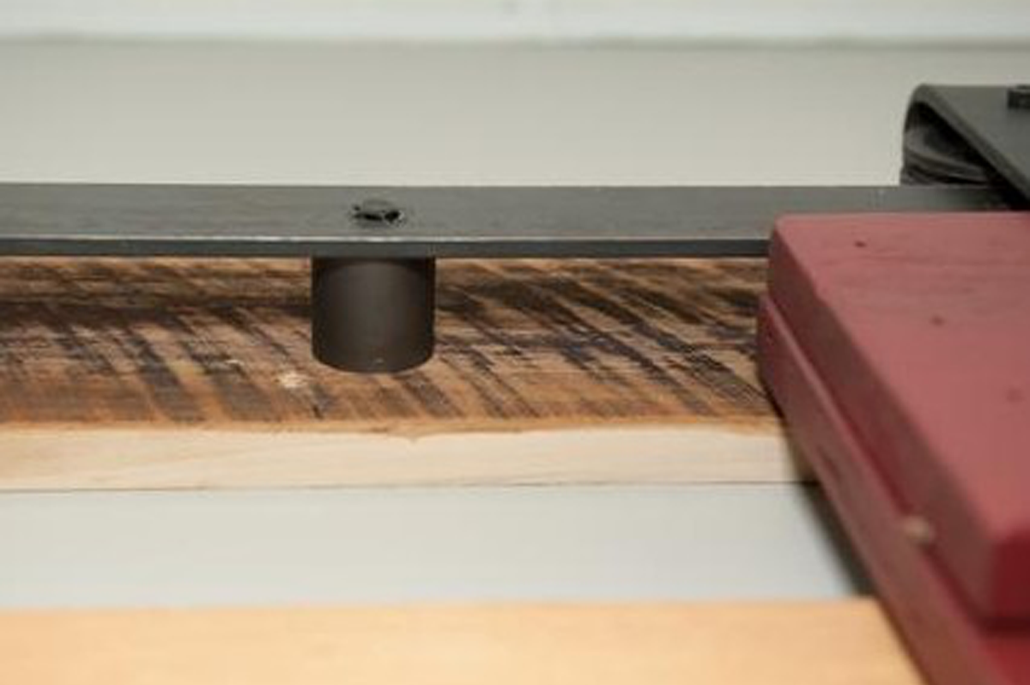
Starting with the leftmost hole, line up the spacer, rail, and the first stopper. Slide the bolt through and fasten it enough that you are secured to the wall but can still move the rail to be able to line it up with the following mounting locations.
-
Continue to bolt the spacer and rails to the wall until they are all fastened. Don’t forget to attach the second stopper when you secure the other end of the rail.
Step 3: Attaching the Hardware to the Barn Door
-
Mark the desired location to mount the trolley.
-
Use a drill bit to drill the holes through the door.
-
Mount the trolley onto the door using the provided hardware and an adjustable wrench.
-
Repeat steps 1-3 for the other side of the door.
-
Install any stoppers included onto the top of the door that rest between the trolleys and below the rail to keep the door from derailing. Not all kits include this.
-
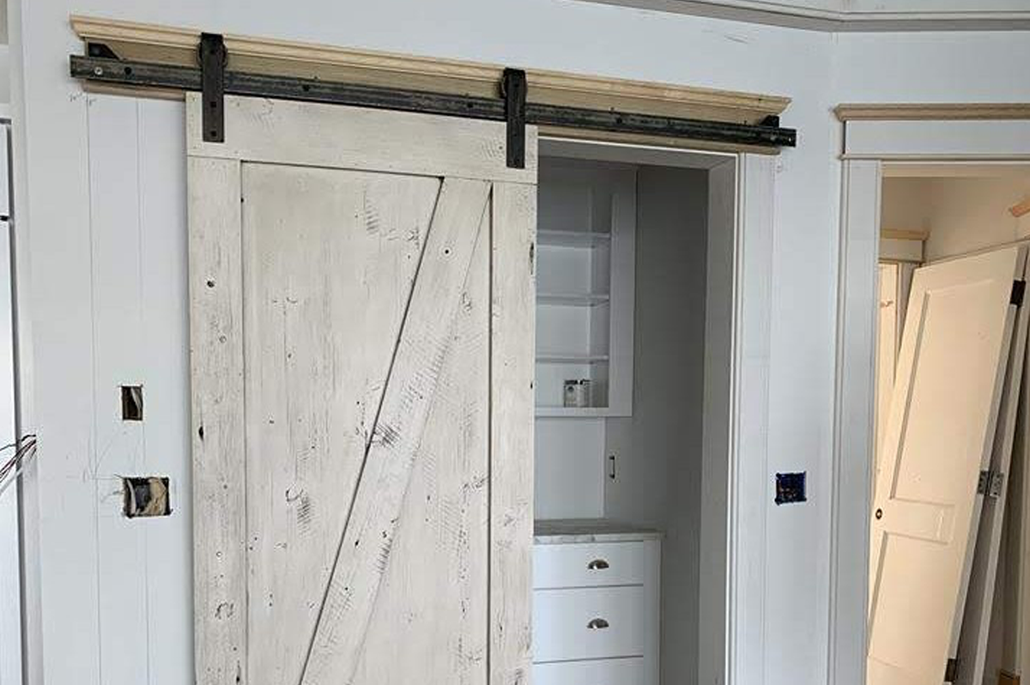
Hang the completed door onto the rail.
Step 4: Installing the Floor Guide
-
Locate your desired location for installing the floor guide. You will most likely install it at the outside edge of the door frame opposite of your nearest door stop on the top rail.
-
You will want the floor guide far enough from the wall so that the door does not hit the wall or any base trim.
-
Using the appropriate drill bit, drill holes into your floor.
-
Proceed to fasten the floor guide to the floor.
Now, you've got a perfectly placed sliding barn door! Sit back, relax, and enjoy. If you have any other questions, feel free to contact us.

