Skip to content

15% OFF DINING SETS - ADD 4+ CHAIRS TO ANY TABLE - CODE: 15OFF4F

  • CLEARANCE
  • Shop By Room
    • Kitchen & Dining
      • Dining Tables
      • Dining Chairs
      • Dining Benches
      • Buffets, Hutches, & Islands
      • Bar Tables & Stools
    • Family Room
      • Coffee Tables
      • Console Tables
      • End Tables
      • Entertainment Centers
    • Bedroom
      • Bedroom Sets
      • Beds
      • Dressers
      • Nightstands
    • Bathroom
      • Medicine Cabinets
      • Towel Bars
      • Vanities
    • Office
      • Desks
      • Shelves
    • Outdoor Furniture
      • Lounge
      • Swings
      • Umbrellas
  • Home Decor & More
    • Wall
      • Barn Doors
      • Chalkboards
      • Coat Racks
      • Frames
      • Hardware & Brackets
      • Mantels
      • Mirrors
      • Quilt Hangers
      • Shelves
      • Wall Art
    • Accessories
      • Bells
      • Fly Swatters
      • Lazy Susans
      • Charcuterie Boards
    • Benches
      • All Benches
      • Storage Benches
    • Chests
      • Blanket Chests
      • Cedar Chests
      • Toy Chests
  • In Stock
    • Tables
      • Dining Tables
      • Coffee Tables
      • Sofa/Console Tables
      • Pub Tables
      • Side/End Tables
    • More
      • Beds
      • Benches
      • Buffets
      • Desks
      • Entertainment Centers
      • Mantels
    • Shop All
  • Design
    • Catalogs & Guides
    • Custom Furniture
    • Photo Galleries
    • Order Stain Samples
  • More Info
    • About Us
    • Contact Us
    • FAQs
    • Visit our Warehouse
    • Installation Instructions
    • Blog
  • Facebook
  • Pinterest
  • Instagram
  • YouTube
Rustic Red Door Co.
Log in Cart
  • CLEARANCE
  • Shop By Room
    • Kitchen & Dining
      • Dining Tables
      • Dining Chairs
      • Dining Benches
      • Buffets, Hutches, & Islands
      • Bar Tables & Stools
    • Family Room
      • Coffee Tables
      • Console Tables
      • End Tables
      • Entertainment Centers
    • Bedroom
      • Bedroom Sets
      • Beds
      • Dressers
      • Nightstands
    • Bathroom
      • Medicine Cabinets
      • Towel Bars
      • Vanities
    • Office
      • Desks
      • Shelves
    • Outdoor Furniture
      • Lounge
      • Swings
      • Umbrellas
  • Home Decor & More
    • Wall
      • Barn Doors
      • Chalkboards
      • Coat Racks
      • Frames
      • Hardware & Brackets
      • Mantels
      • Mirrors
      • Quilt Hangers
      • Shelves
      • Wall Art
    • Accessories
      • Bells
      • Fly Swatters
      • Lazy Susans
      • Charcuterie Boards
    • Benches
      • All Benches
      • Storage Benches
    • Chests
      • Blanket Chests
      • Cedar Chests
      • Toy Chests
  • In Stock
    • Tables
      • Dining Tables
      • Coffee Tables
      • Sofa/Console Tables
      • Pub Tables
      • Side/End Tables
    • More
      • Beds
      • Benches
      • Buffets
      • Desks
      • Entertainment Centers
      • Mantels
    • Shop All
  • Design
    • Catalogs & Guides
    • Custom Furniture
    • Photo Galleries
    • Order Stain Samples
  • More Info
    • About Us
    • Contact Us
    • FAQs
    • Visit our Warehouse
    • Installation Instructions
    • Blog
Rustic door's contact number: 610-652-5066 610-672-6454

Barn Door Installation Instructions

barn door installation instructions page, bypass doors

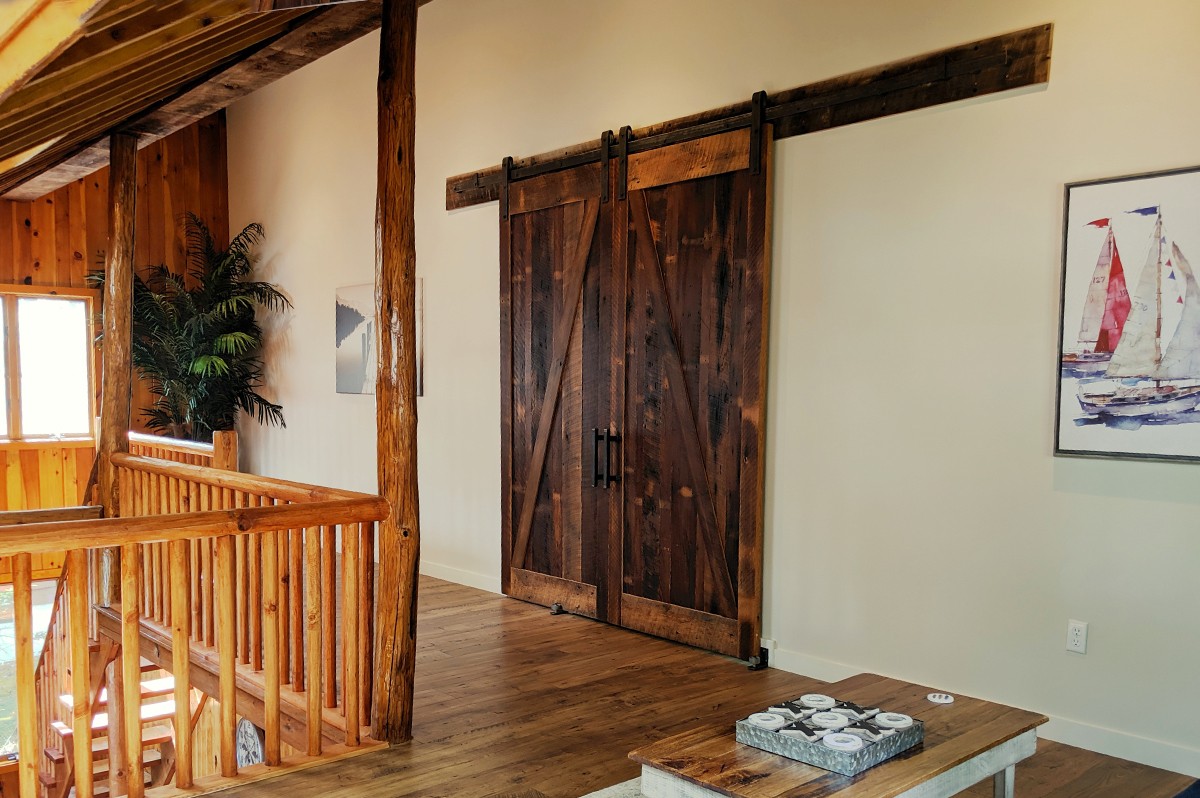
You've finally got your new sliding barn door and barn door track kit. So what are the next steps? We've got you covered. Make sure you have all the required tools before getting started!


REQUIRED TOOLS / ITEMS:

  1. Power Drill with assorted bit sizes for wood and metal

  2. Socket attachments

  3. Tape Measure

  4. Level

  5. Pencil/Marker

  6. Provided Hardware

  7. Anchors (if necessary)


Step 1: Installing the Header Board

  1. Locate the studs around your door frame.

  2. Mark the desired height above your door frame for the header board. You want your door to be at least an inch off of the ground, so adjust the height of the header board accordingly.

  3. Use a drill bit to drill your first hole on your mark.

  4. Screw the header board to the wall on as many studs as possible. Use anchors to fasten it securely in places without studs if necessary.

double paned glass barn doors
barn door hardware installation
rustic sliding barn door

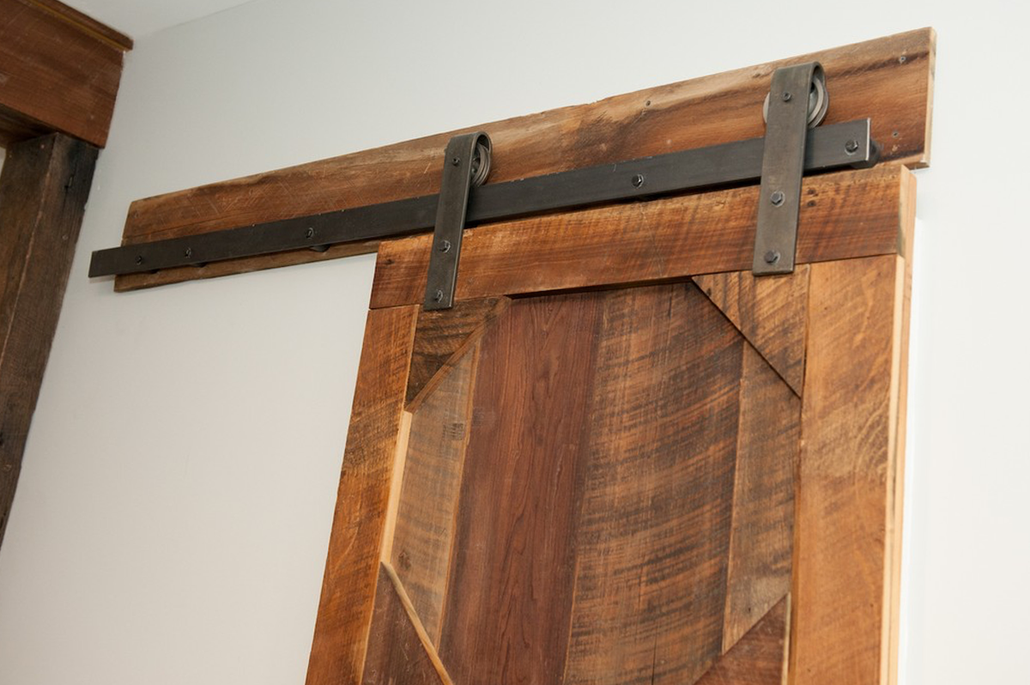
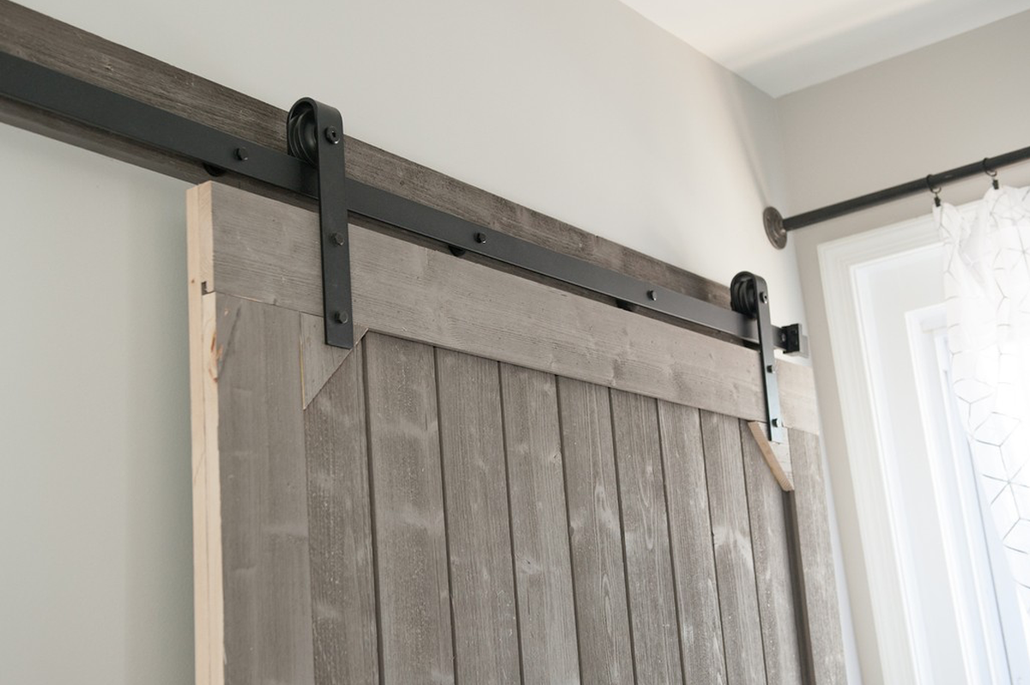
Step 2: Installing the Rail

  1. Locate and mark the locations where the rail will be mounted to the header board. Fasten the rail to the same studs that the header board was attached to. Make sure the marks are level. You want the rail mounted low enough so that the trolley attached to the door does not go higher than your header board.

  2. Using an appropriately sized drill bit, drill out the marks to prepare for the spacers and bolts.

  3. Make marks and drill holes on your rail at the same locations to be able to fasten the rail onto the spacers.

  4. Starting with the leftmost hole, line up the spacer, rail, and the first stopper. Slide the bolt through and fasten it enough that you are secured to the wall but can still move the rail to be able to line it up with the following mounting locations.

  5. Continue to bolt the spacer and rails to the wall until they are all fastened. Don’t forget to attach the second stopper when you secure the other end of the rail.

barn door hardware installation close up
rustic barn door rail
white farmhouse barn door

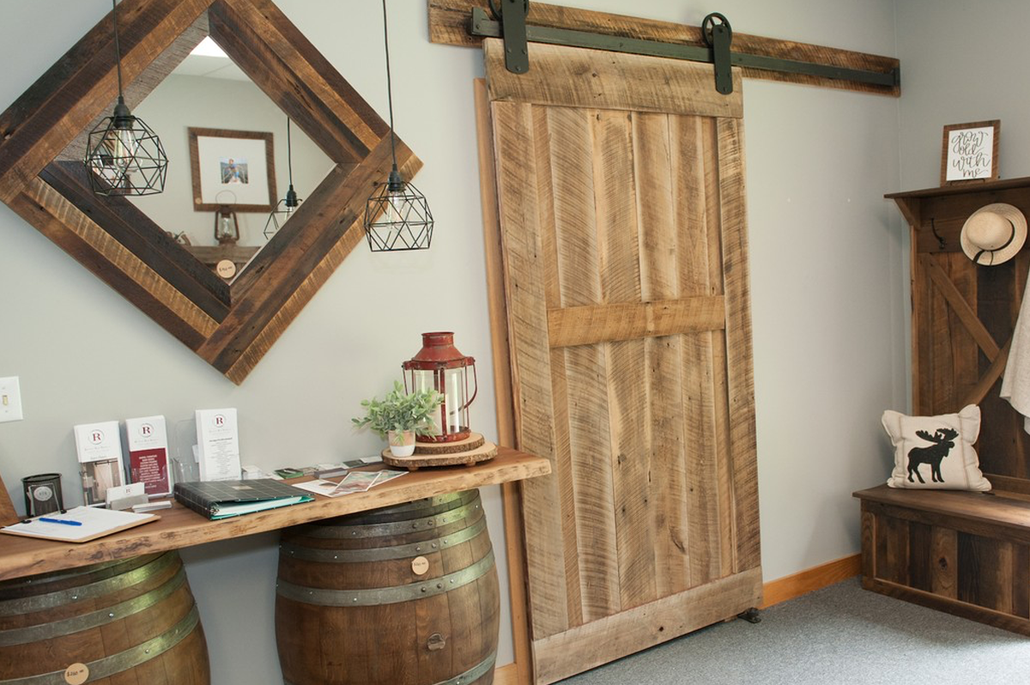
Step 3: Attaching the Hardware to the Barn Door

  1. Mark the desired location to mount the trolley.

  2. Use a drill bit to drill the holes through the door.

  3. Mount the trolley onto the door using the provided hardware and an adjustable wrench.

  4. Repeat steps 1-3 for the other side of the door.

  5. Install any stoppers included onto the top of the door that rest between the trolleys and below the rail to keep the door from derailing. Not all kits include this.

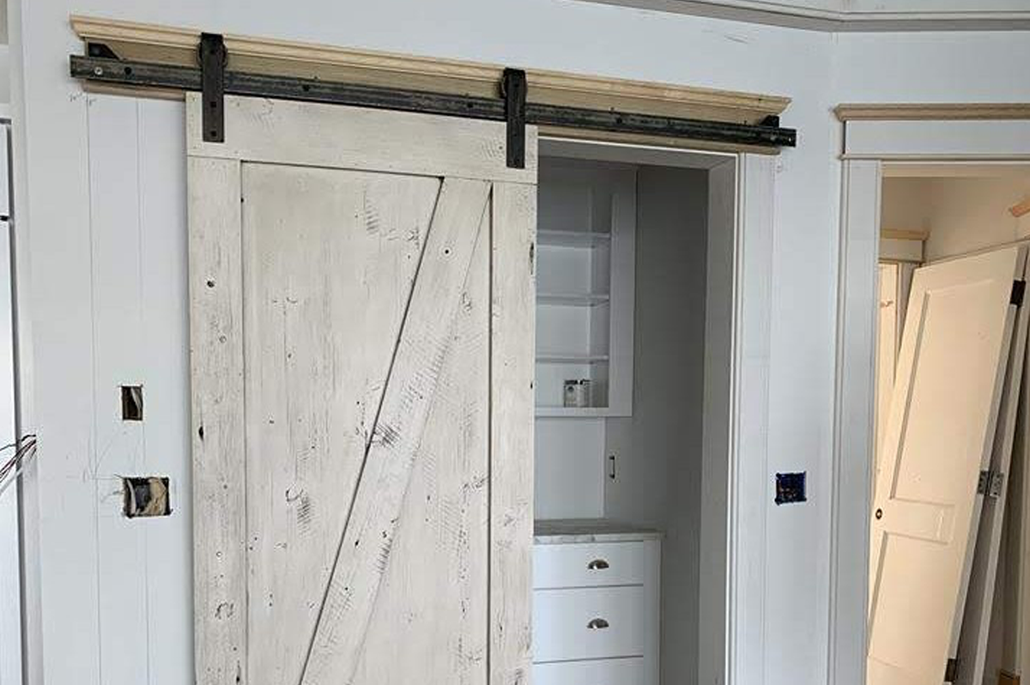
  6. Hang the completed door onto the rail.

farmhouse white kitchen barn door
glass paned sliding barn door

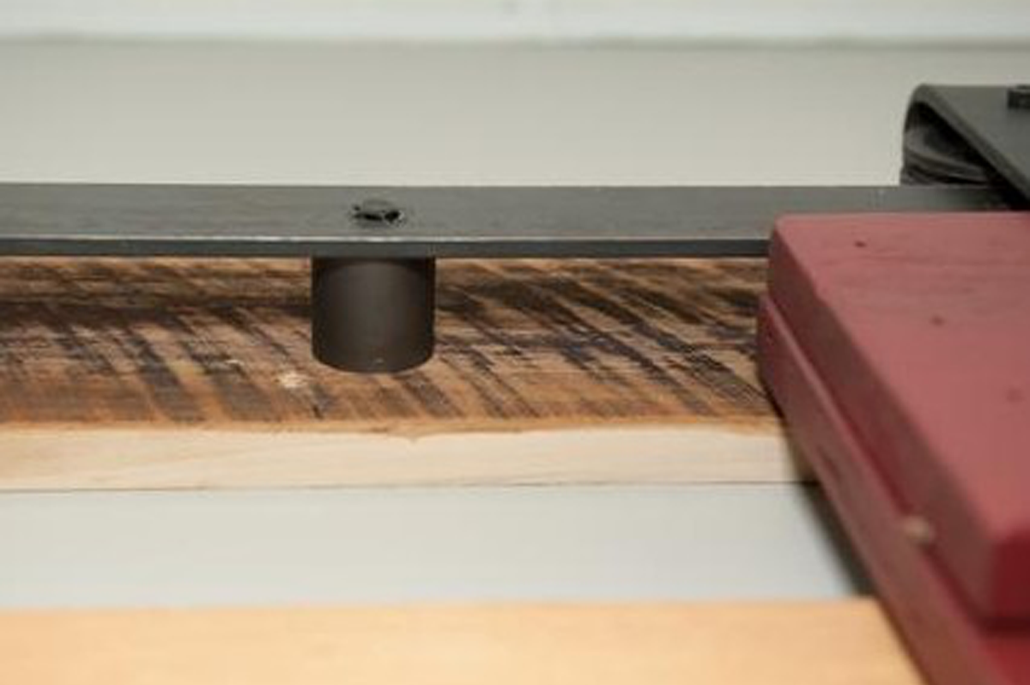
Step 4: Installing the Floor Guide

  1. Locate your desired location for installing the floor guide. You will most likely install it at the outside edge of the door frame opposite of your nearest door stop on the top rail.

  2. You will want the floor guide far enough from the wall so that the door does not hit the wall or any base trim.

  3. Using the appropriate drill bit, drill holes into your floor.

  4. Proceed to fasten the floor guide to the floor.

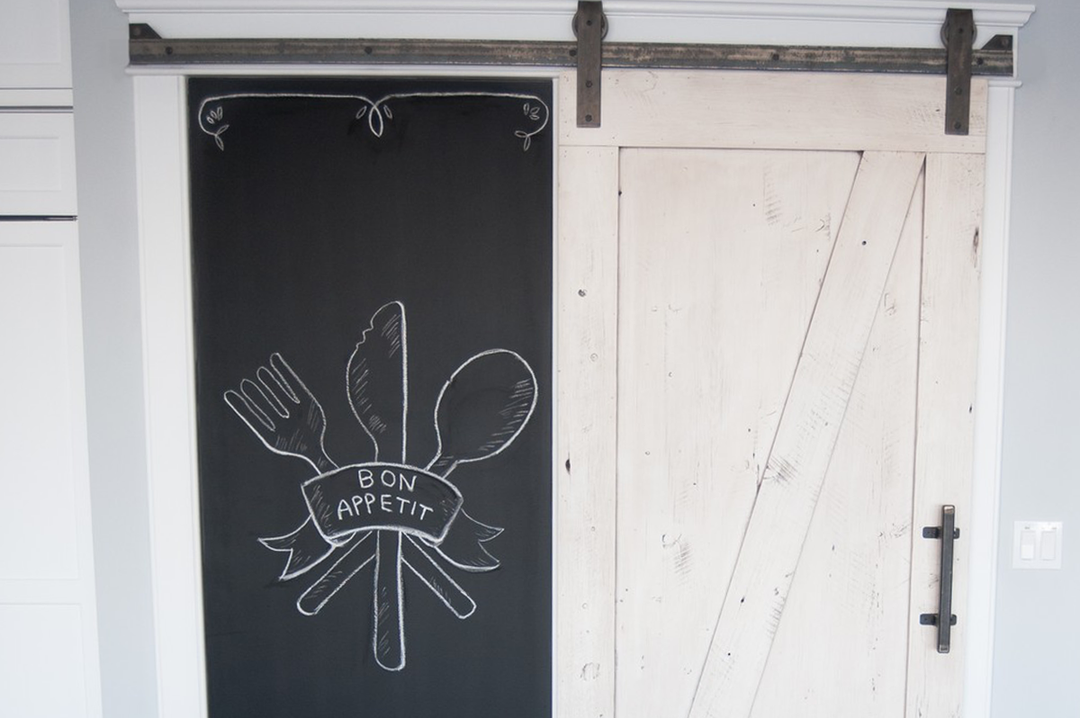
Now, you've got a perfectly placed sliding barn door! Sit back, relax, and enjoy. If you have any other questions, feel free to contact us.

  • Facebook
  • Pinterest
  • Instagram
  • YouTube

Visit our Showroom:

2180 Colflesh Road
Perkiomenville, PA 18074

610-672-6454

Quick links

  • Contact Us
  • Shop Collections
  • Order Stain Samples
  • Visit Our Warehouse
  • FAQ
  • Reviews
  • Behind the Red Door Blog
  • Shipping
  • Catalogs
  • Return and Refund Policies
  • Privacy Policy

Quick links

  • Contact Us
  • Shop Collections
  • Order Stain Samples
  • Visit Our Warehouse
  • FAQ
  • Reviews
  • Behind the Red Door Blog
  • Shipping
  • Catalogs
  • Return and Refund Policies
  • Privacy Policy
Payment methods
  • American Express
  • Apple Pay
  • Discover
  • Google Pay
  • Mastercard
  • PayPal
  • Shop Pay
  • Venmo
  • Visa
© 2025, Rustic Red Door Co. Powered by Shopify
  • Choosing a selection results in a full page refresh.
  • Opens in a new window.