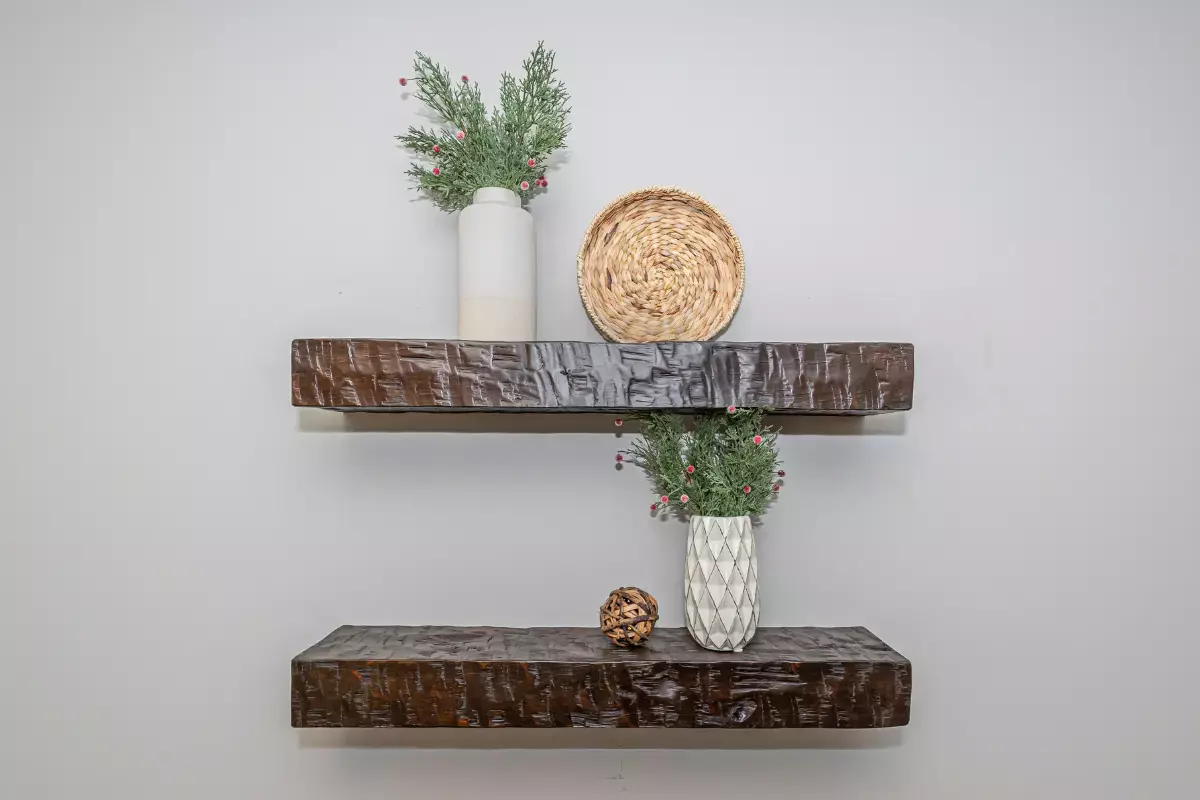
Floating Shelf Installation Instructions
These instructions are for floating shelves.

It's time to install your new floating shelf! This installation guide will give you steps for hanging your new piece. Keep reading to make sure you have everything you need before getting started.
Required tools / items:
Tape Measure
Level
Pencil
Screwdriver
Mounting Board(s), included
Screws, included
Stud finder, if needed
Optional: wall anchor bolts / toggle bolts
(Your shelf will slide onto the mounting board[s], so be aware of the extra height the shelf will add. 1 or 2 mounting boards will be provided depending on the depth of the shelf.)
Instructions:
-
Determine where you want your floating shelf.
-
Locate the studs with a stud finder (if using) and mark where you want to attach the mounting board(s) to the wall. (Your shelf will slide onto the mounting board, so be aware of the extra height the shelf will add.)
-
If using anchor/toggle bolts, mark where they will be placed and install them per the manufacturer’s instructions.
-
Place the mounting board against the wall and secure it to the wall with the screws. (If 2 mounting boards are provided, carefully line up the 2nd mounting board on the 1st board and attach with screws. This will ensure ample support for deeper shelves.)
-
Slide the shelf onto the mounting board(s), making sure the shelf fits snugly against the wall.
-
Attach the shelf to the mounting board by drilling screws (middle, left, and right) through the top side of the shelf just in front of the wall.
Now your floating shelf is successfully mounted! We hope you love your new décor piece. If you have any other questions, feel free to contact us.
