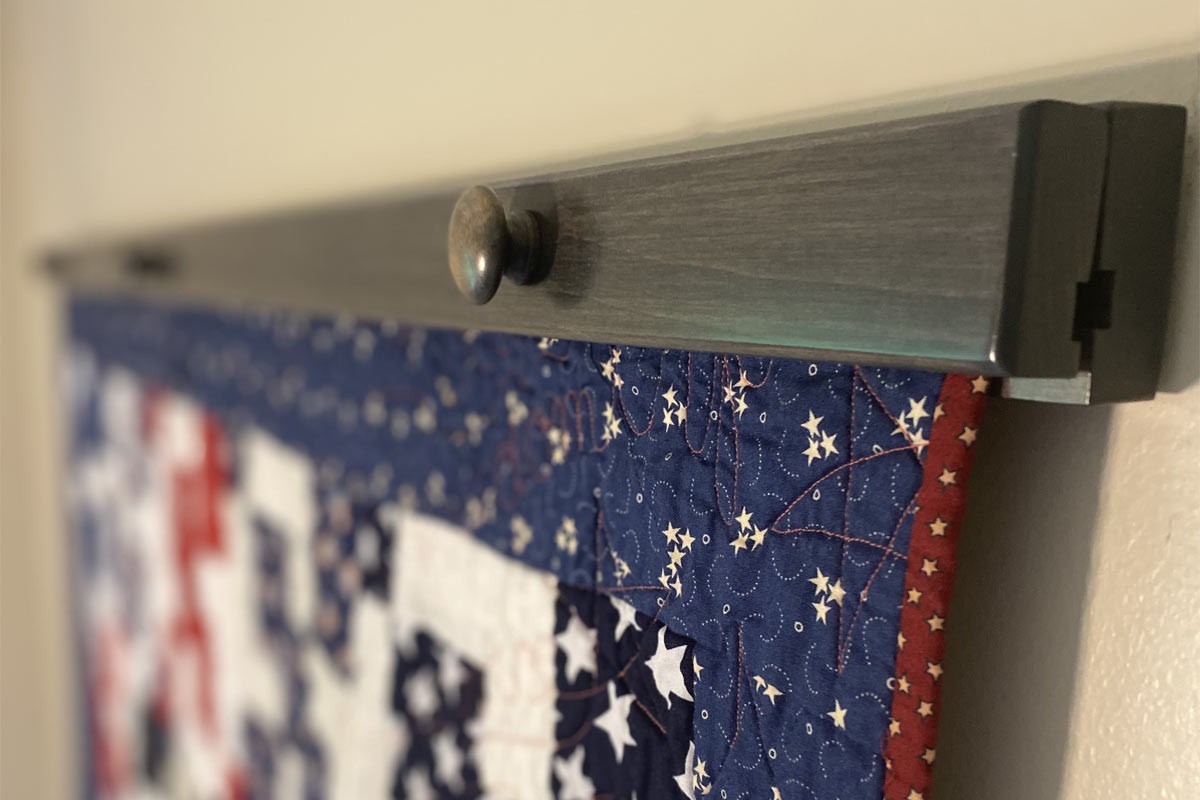
Quilt Hanger Installation Instructions
These instructions are for quilt hangers (clamps).

It's time to install your new quilt hanger! Keep reading for directions or watch the video.
Required tools / items:
1. Tape Measure
2. Level
3. Pencil
4. Hammer
5. Screw driver
6. 1 general use nail
7. Stud finder
8. *Optional wall anchor bolts / toggle bolts for each keyhole
Instructions:
1. Measure distance between keyholes on back of quilt clamp.
2. Determine ideal position on wall.
3. Mark spot for first screw & install screw on wall -preferably into a stud. (*We recommend using wall anchors or toggle bolts if you're unable to screw into a stud.)
4. Place quilt clamp onto first screw on wall by placing keyhole slot over the screw.
5. Make sure quilt clamp is level and make reference points.
6. Find locations of other keyhole slots and mark them.
7. Hammer a nail into one of those slots & test placement. If quilt clamp is not level, relocate nail above or below the original hole and retest to see if quilt clamp is level.
8. Once level, drive screw (or pilot hole for anchor) into wall.
(Anchor should be used if not drilling screw into a stud. For anchors, drill pilot hole, install anchor, and then drill the screw into the anchor.)
9. Repeat Steps 7 and 8 for remaining keyhole slots.
10. Mount quilt clamp on the wall by placing all keyhole slots over each screw & test sturdiness. If there is a lot of motion when testing the clamp, tighten screws into the wall until snug.
11. Loosen knobs on quilt clamp and place top of quilt / blanket / rug at the seam & re-tighten knobs.
Now your quilt clamp is successfully mounted! We hope you love your new décor piece that holds your beautiful quilt. If you have any other questions, feel free to contact us.
