
Table Set Up Instructions
Setting up our tables is an easy task that anyone can accomplish! From our extendable tables to our live edge tables you should be getting your table and eating off of it in no time at all. More often than not our delivery services will set up your table for you but if you opt to do it yourself, or have to move it sometime in the future, here are some helpful instructions on how to do it yourself.
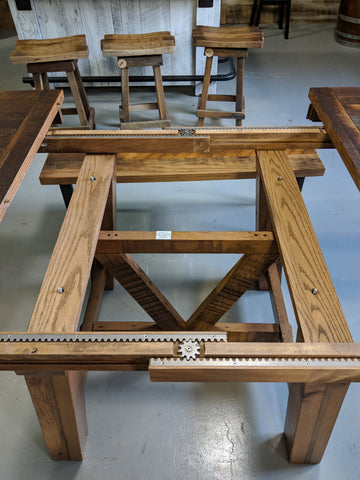
Extendable Tables
Required Items:
- Ratchet Set
- Washers
- Nuts
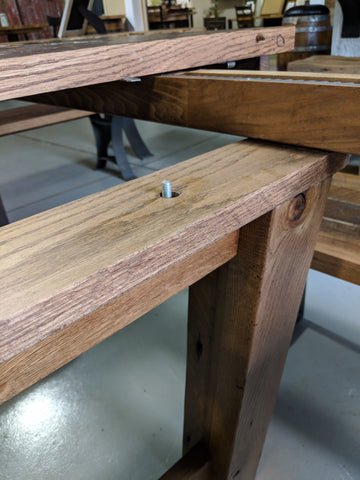
- The base of the table should have the bolts mounted on the top.
- Open the top of the table to see the mounting areas.
- With a partner lift the table top over the base, lining up the mounting area with the bolts.
- Place down over the top of the bolts.
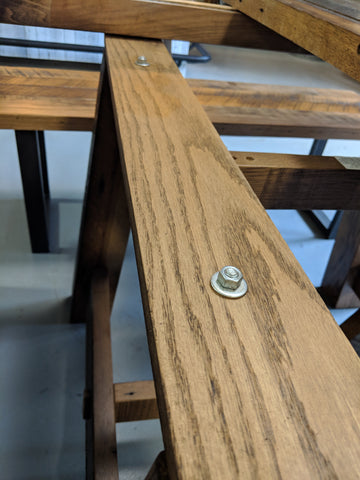
- Take the provided washers and nuts and secure the table top to the base using a wrench or ratchet.
- Insert any leaves and close the table top.
Solid Top Tables
Required Items:
- Power Drill
- Square Bit
- Screws
- Washers
- Tape Measure
- Pencil
- Start with your table top placed upside down on a covered surface.
- Take the base(s) and flip them upside down onto the table.
- Find the mounting area by measuring from the ends and sides of the table to the base to ensure that everything is square. (If you’re worried about the base moving after finding that perfect spot just mark its location with a pencil.)
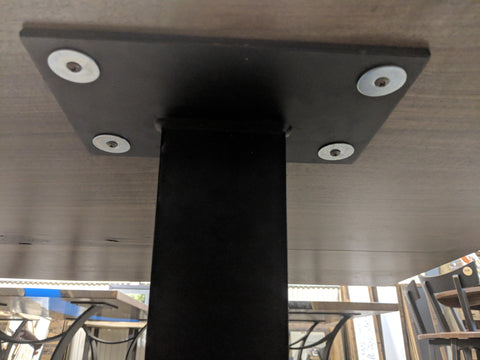
- Once the mounting area has been found grab your washers and screws and secure the base(s) to the underside of the table.
- After the base(s) have been secured find a partner to help you flip the table over.
Live Edge Tables
Required Items:
- Power Drill
- Square Bit
- Screws
- Washers
- Tape Measure
- Pencil
- Start with your table top placed upside down on a covered surface.
- Take the base(s) and flip them upside down onto the table.
- Find the mounting area by measuring from the ends and sides of the table to the base to ensure that everything is square. This then differs from the assembly of other tops because the width of a live edge table varies with the natural edge of the slab. The best method is to “Eye it up” after finding the general area where you want the legs mounted make sure that the base looks as centered as possible with the curvature of your table top.
- Once the mounting area has been found grab your washers and screws and secure the base(s) to the underside of the table.
- After the base(s) have been secured find a partner to help you flip the table over.
Corner Leg Tables
Required Items:
- Ratchet Set
- Washers
- Nuts
- Start with your table top placed upside down on a covered surface.
- Flip the legs upside down and slide the bolts in through the opening.
- Place your washers over the bolts and hand tighten the nut to get it started.
- Use a socket wrench to tighten the nut onto the bolt.
- Repeat for each leg.
